Create an Interactive Lead Magnet
Looking to create an interactive lead magnet? Such as a video training? It's easy to create a lead magnet like this right in LeadQuizzes!
Do you want to create an interactive lead magnet? Something that requires responders to optin and then walks them through a training or guide? That's easy in LeadQuizzes!
An interactive lead magnet has 5 key elements.
- A Start Screen - letting your audience know what to expect from the interactive lead magnet
- Text or Image fields - these are going to be where you deliver your content (such as a video!)
- Text or Image Question - this will allow you to determine what type of trainings or content they would like to receive in the future
- A Form Field - that collects their information so they can access the training or guide and you can continue to market to them
- Results/thank you page - thanking them for going through the content and letting them know next steps
To create an interactive lead magnet follow the steps below:
- From the Dashboard click to Create a new piece of content.

2. Name your piece of content (remember just you will see this so make sure it makes sense to you)
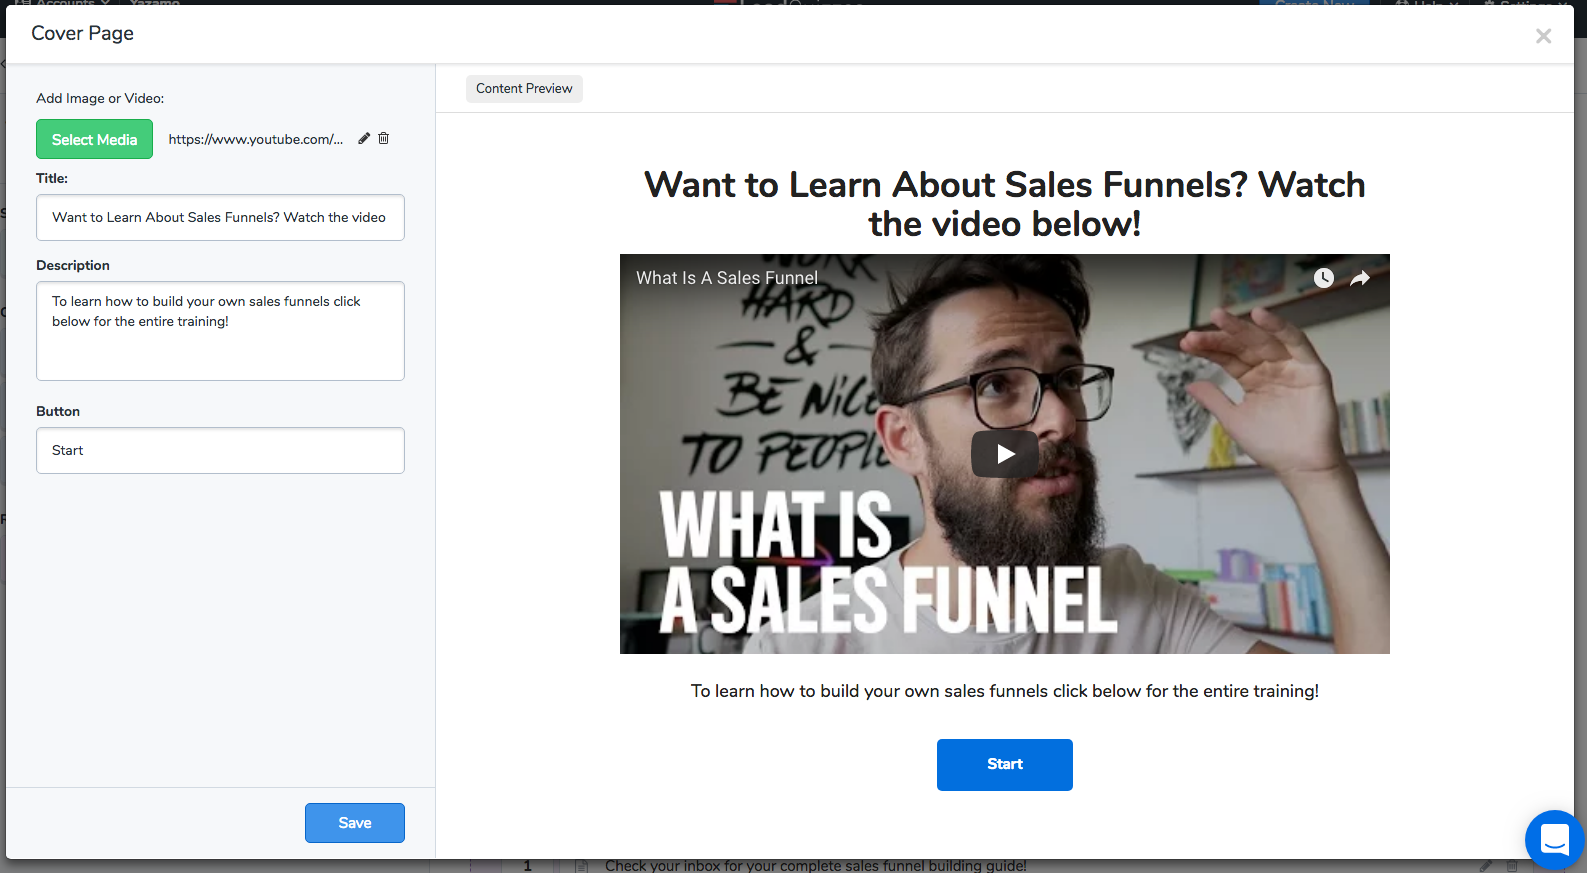
3. To add a start page to your interactive lead magnet, something that tells your responders what the training or guide is going to cover. Click on Cover Page on the left hand side and drag it to the Start Screen box on the right. From there, fill in the information that you would like to include.
4. Next you need to add a Form Field, so that you can collect their information allowing them to access the training and giving you the ability to continue to market to them. To add this to your piece of content click on Form Fields, under Content Elements, and drag it to the Content Elements block on the right. From there fill in the information you would like to include.

5. After that it's time to add your Text or Image fields! I recommend creating one for each section of your training in our example we are doing a video training and we used 3 separate videos in 3 separate spots throughout the content. To add this to your survey click on the appropriate Content Element under the Content Elements section on the left hand side and drag it to the Content Elements block on the right. From there fill in the information you would like to include.

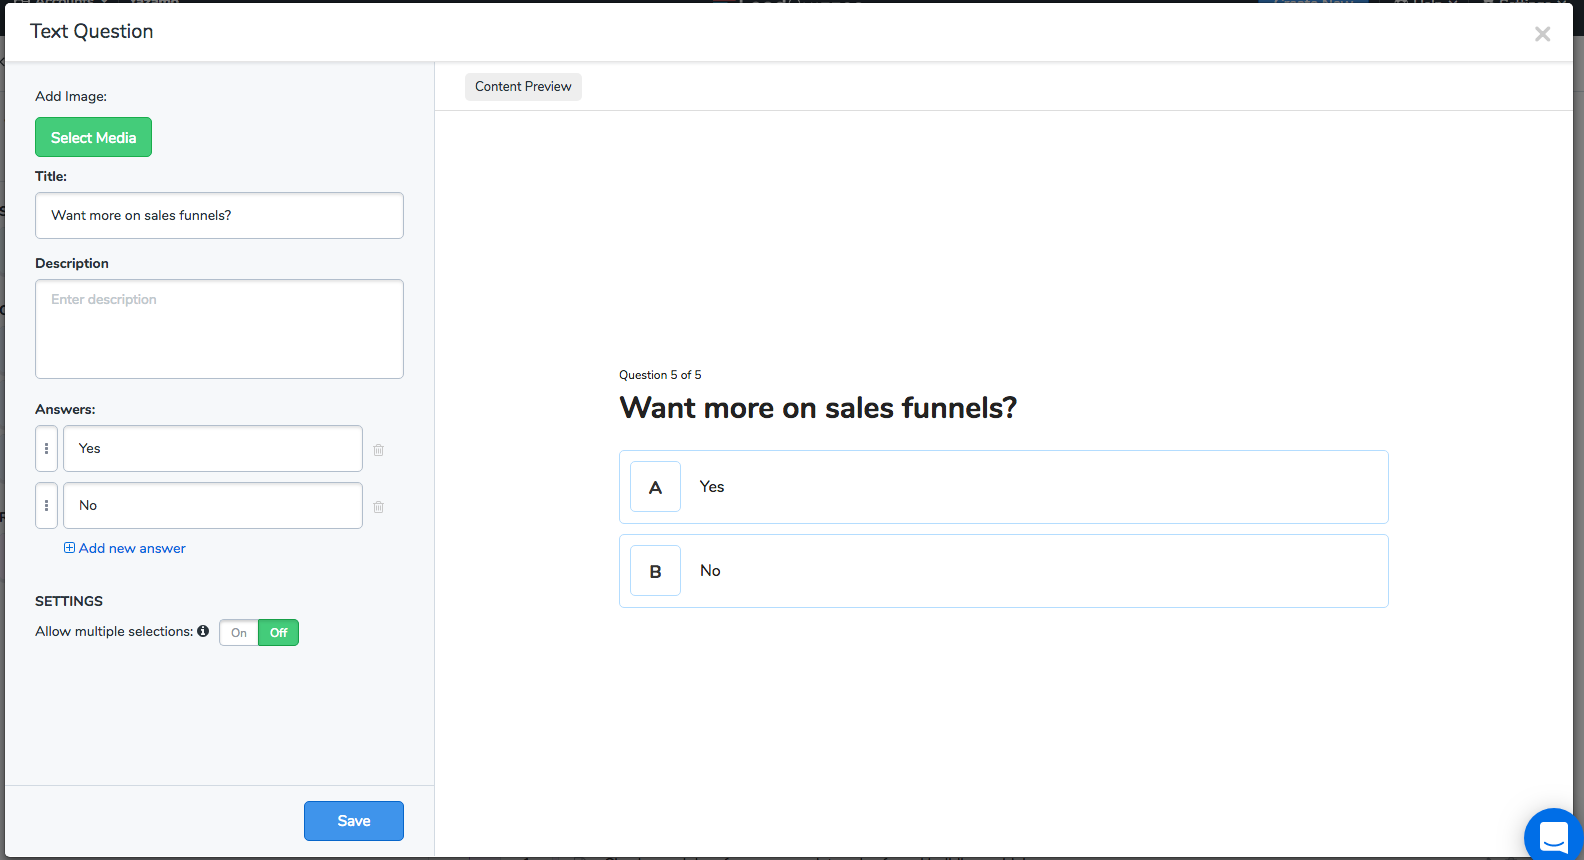
6. At the end of your interactive lead magnet I recommend adding a Text or Image question asking the responder what type of additional content they would like to receive this allows for me to follow up with relevant content and also show them a custom results or thank you page at the end. To add this to your content click on the appropriate Content Element, under the Content Elements section on the left hand side and drag it to the Content Elements block on the right. From there fill in the information you would like to include.
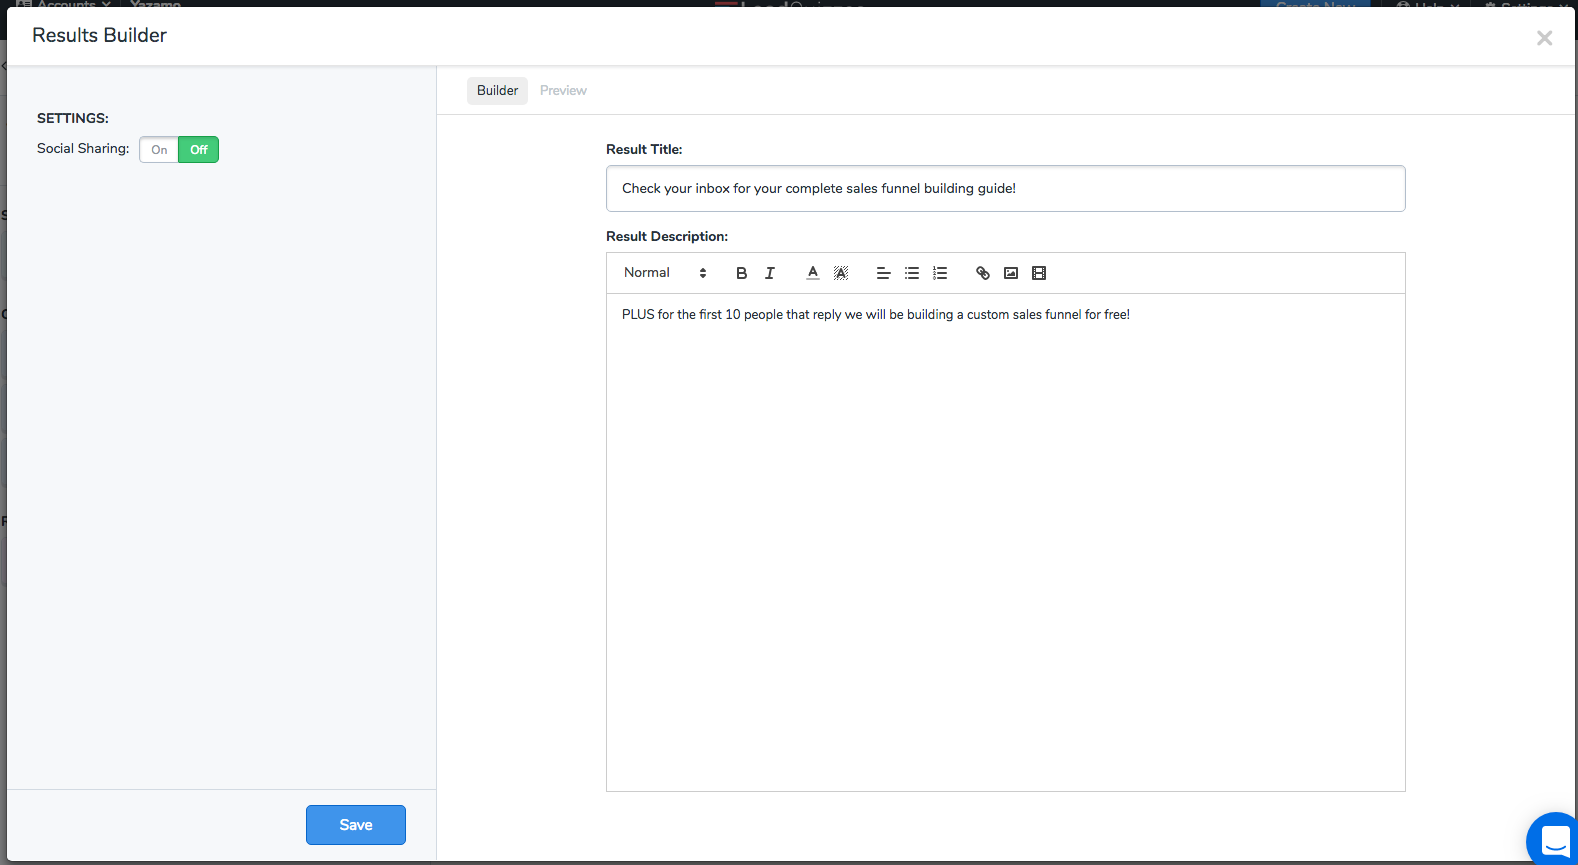
7. The last piece you need to add to your quiz is the Results/thank you page. To do this you need to add a Result. This can be in the form of the Results Builder (like in our example below), or you can use the URL Redirect to send them to a thank you page on your side. To add this to your piece of content simply click on the appropriate Result block on the left and drag it to the Results block on the right. Then fill in the appropriate information.
8. To ensure that your responders receive this Result/thank you page you need to go back to the question that you added in the Content Elements block and click on the little map icon, as shown below.

9. Once there you need to drag all of the answers on the left to the result on the right. You can do this by click on the answer on the left and dragging it to the right. By doing this you are telling LeadQuizzes that if someone answers that question with that answer them show them that result that you created at the end.

10. After this you are ready to hit publish and can start using your piece of content :)