Drip Integration
In this article, we will be walking you through setting up your Drip Integration with LeadQuizzes.
Part 1: Connecting LeadQuizzes with Drip.
1. Navigate to your LeadQuizzes account dashboard, click "Settings" in the top right-hand corner, and select "Integrations" from the Settings menu.

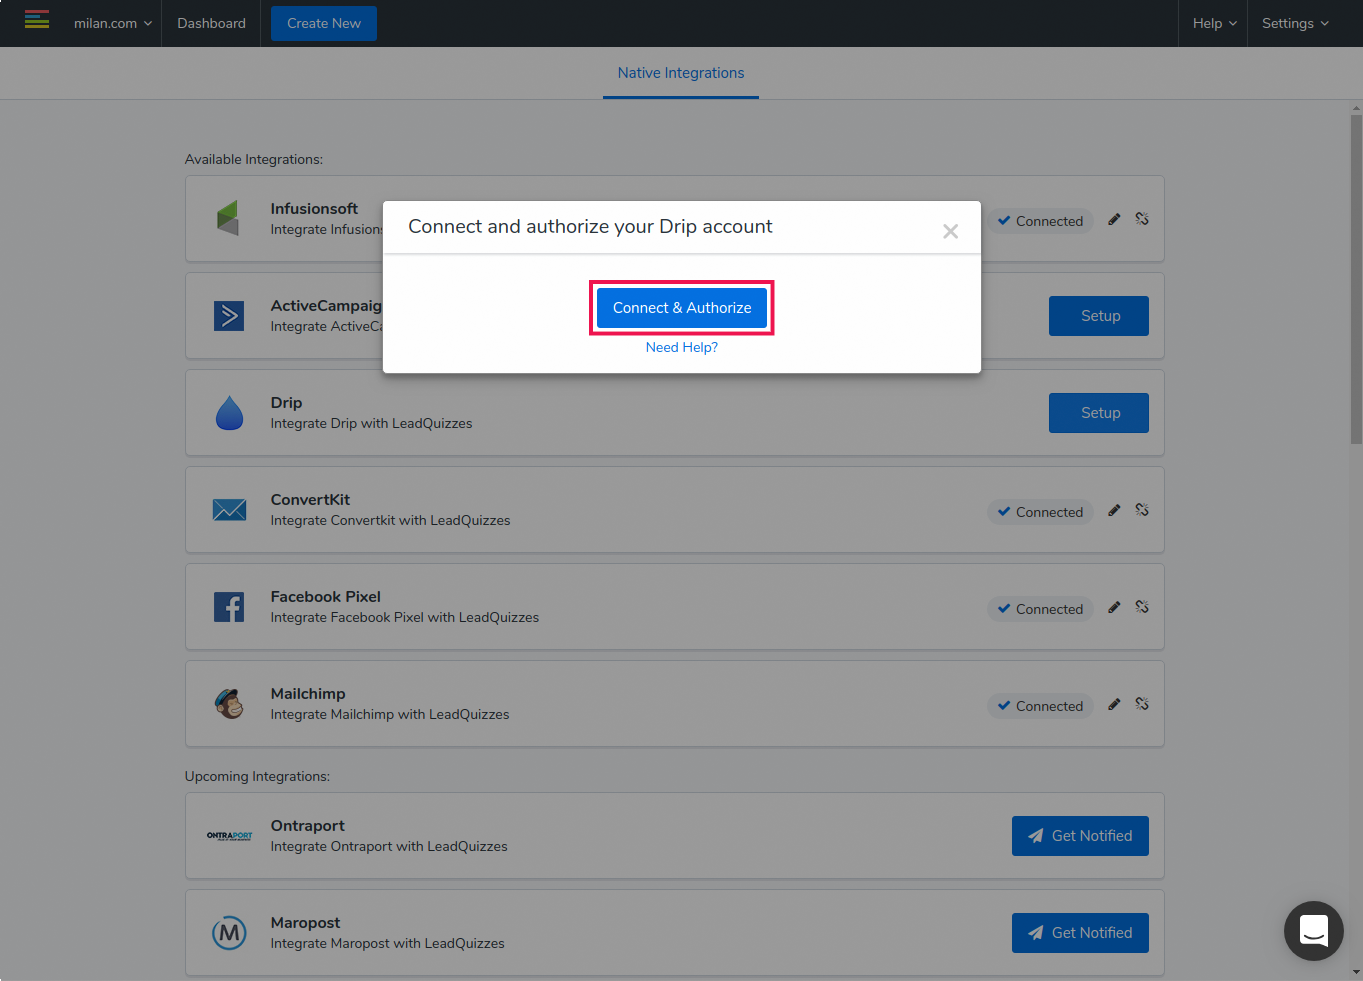
2. On the Integrations page, locate the Drip integration, then click "Setup". A popup will appear. Within the popup, click the "Connect & Authorize" button. This action will redirect you to the Drip login page.
3. On the Drip login page, input the email address and password associated with the account you wish to connect to your LeadQuizzes account, then click ''Continue''.

- Proceed to click "Authorize".

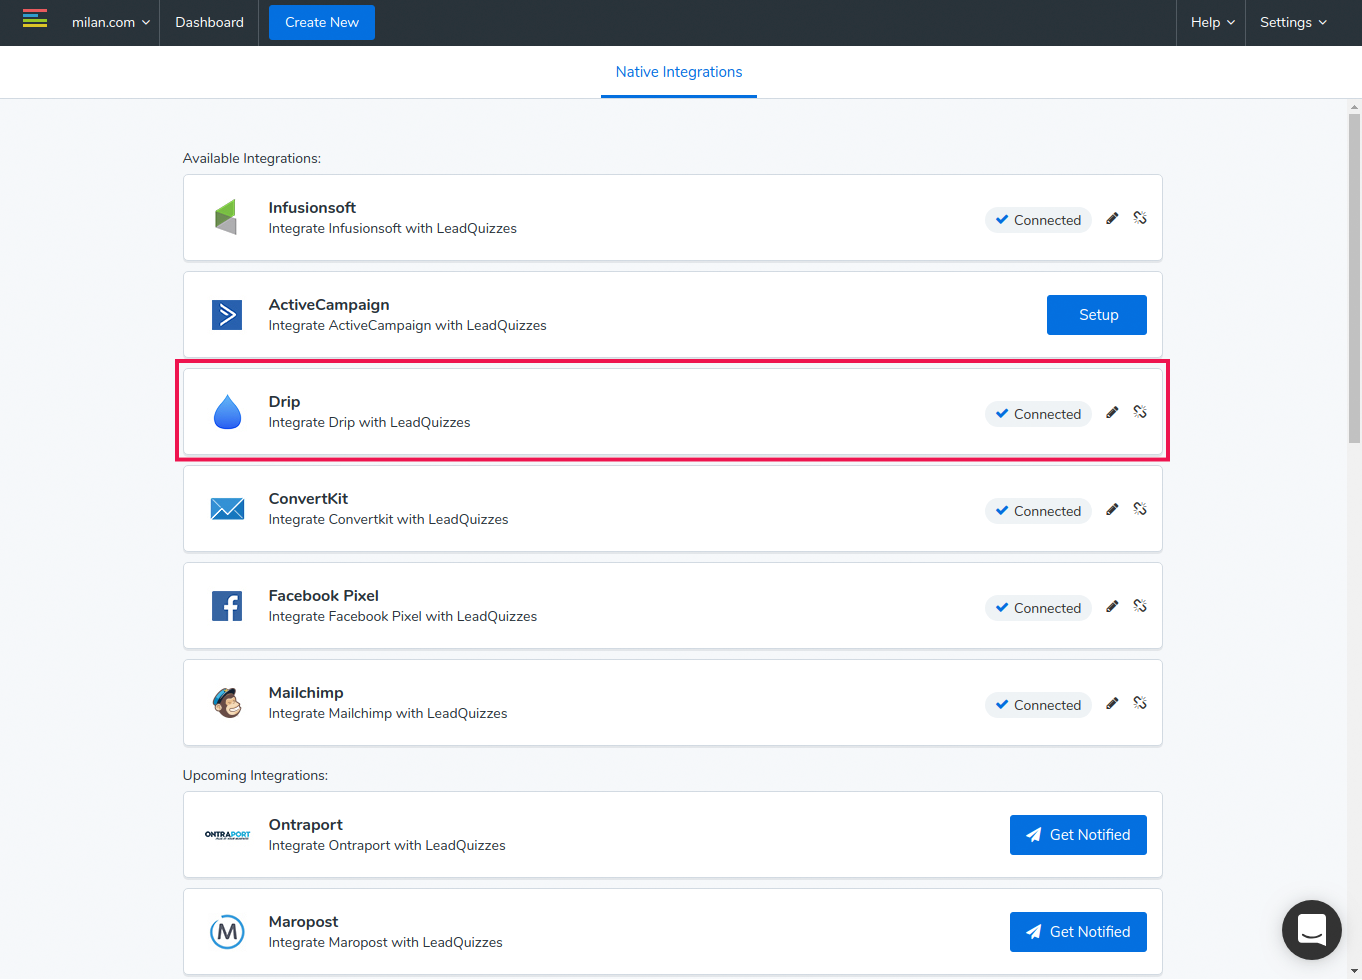
5. On your account Integrations page, your Drip Integration should now say "Connected". You can edit your integration at any time by clicking the pencil icon on your Drip integration or disconnect your integration at any time by clicking the disconnect icon.
Part 2. Configuring your Drip Integration & sending data to Drip.
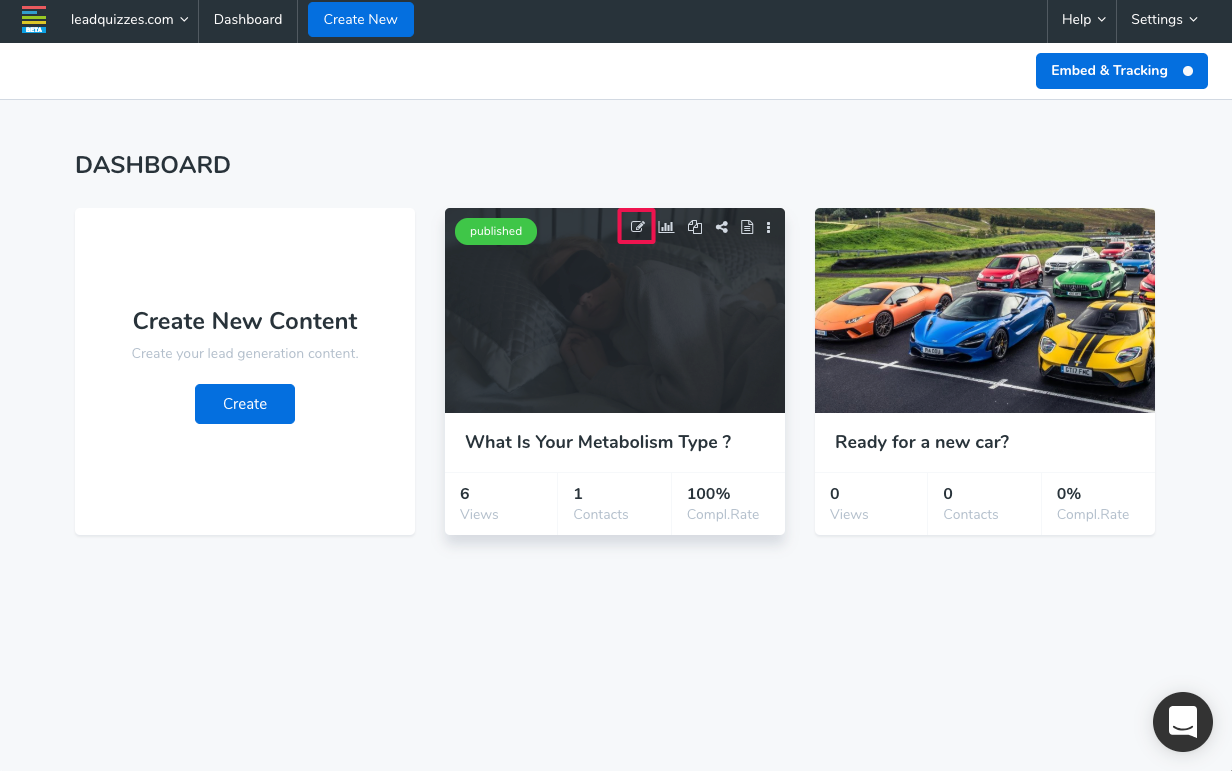
1. To begin passing data over to Drip, you first have to select the content you would like to configure Drip for & click the "Edit" icon on it.
2. Once you are in the Content Builder, click "Configure" on the top menu.

3. On the Configure page, click "Native Integrations" on the left side and then click "Add Integrations" button on the Native Integrations page.

Note: All the integrations configured for your particular LeadQuizzes content will appear under the Native Integrations page.
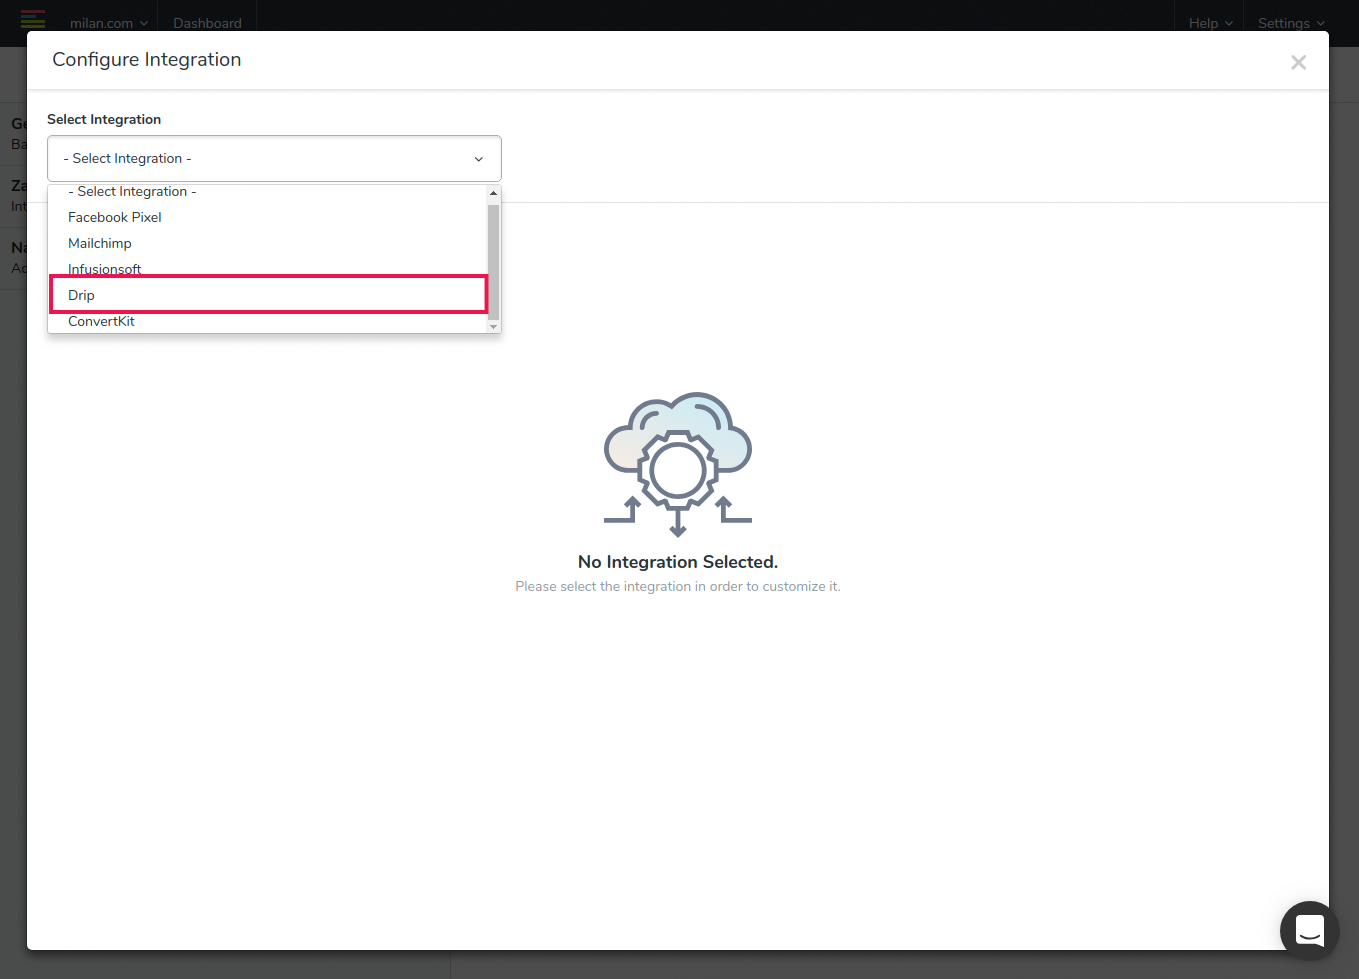
4. On the Configure Integration popup window, select "Drip" from the "Select Integration" drop-down menu. Only the integrations set-up on the Integrations page in your website account will appear on the drop-down menu.
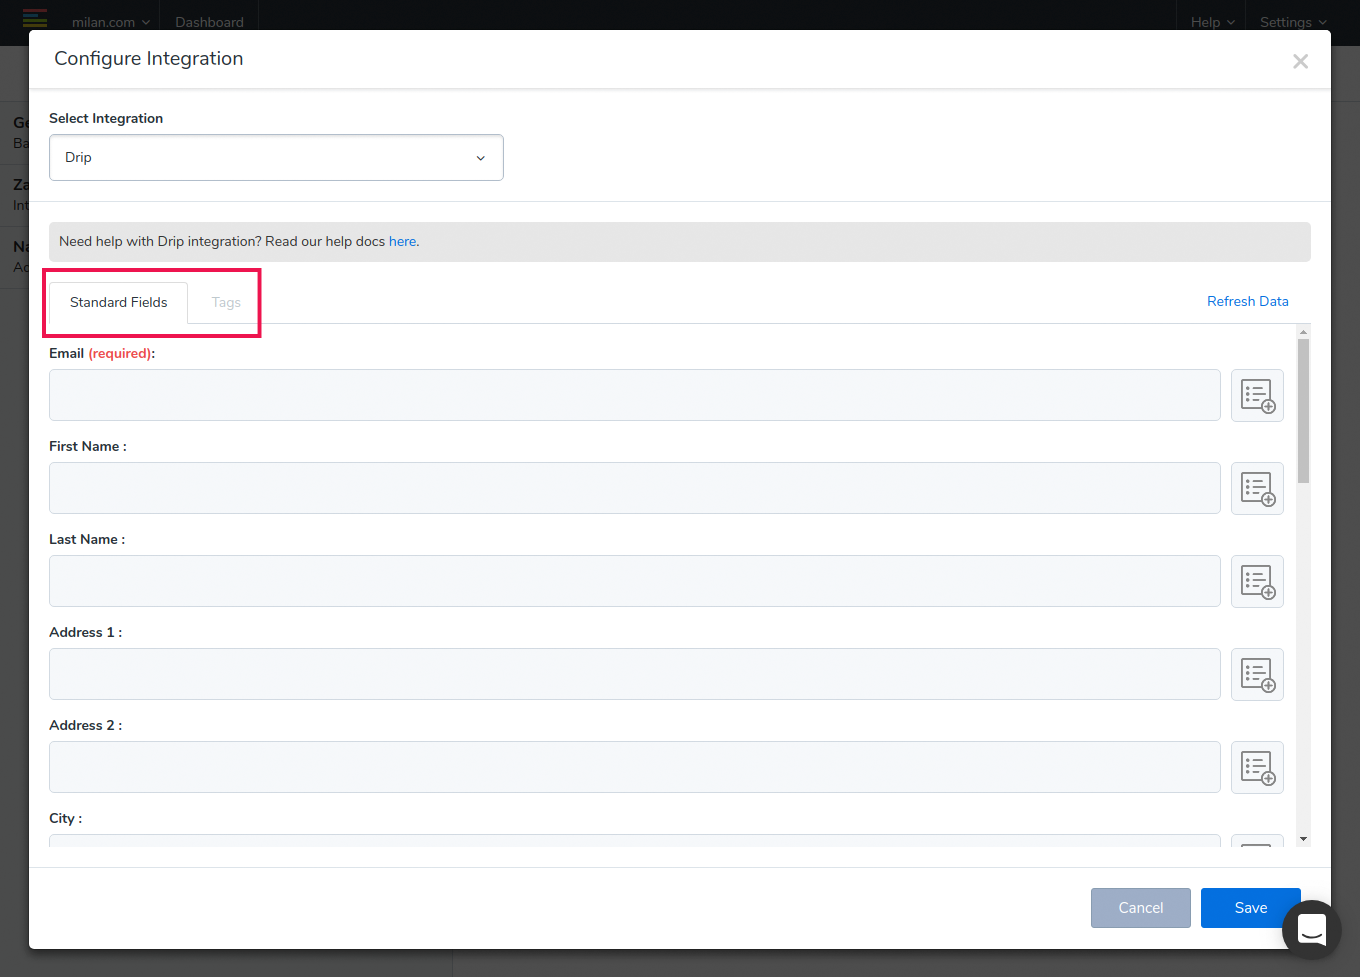
5. All your Drip Fields & Tags will be loaded onto the Configure Integration popup window. They will be separated by two tabs.
- The Fields tab contains both the Drip default fields and the fields you added to your list to store specific data in your Drip account.Click here to learn how to add and delete custom fields from your Drip.
- The Tags tab allows you to assign a specific tag to response data collected from your LeadQuizzes quiz or survey.
6. To map your LeadQuizzes quiz or survey data to any of your Drip fields, click the "Map Data" icon next to the field you would like to assign the data to and select the LeadQuizzes content element from the drop-down list.
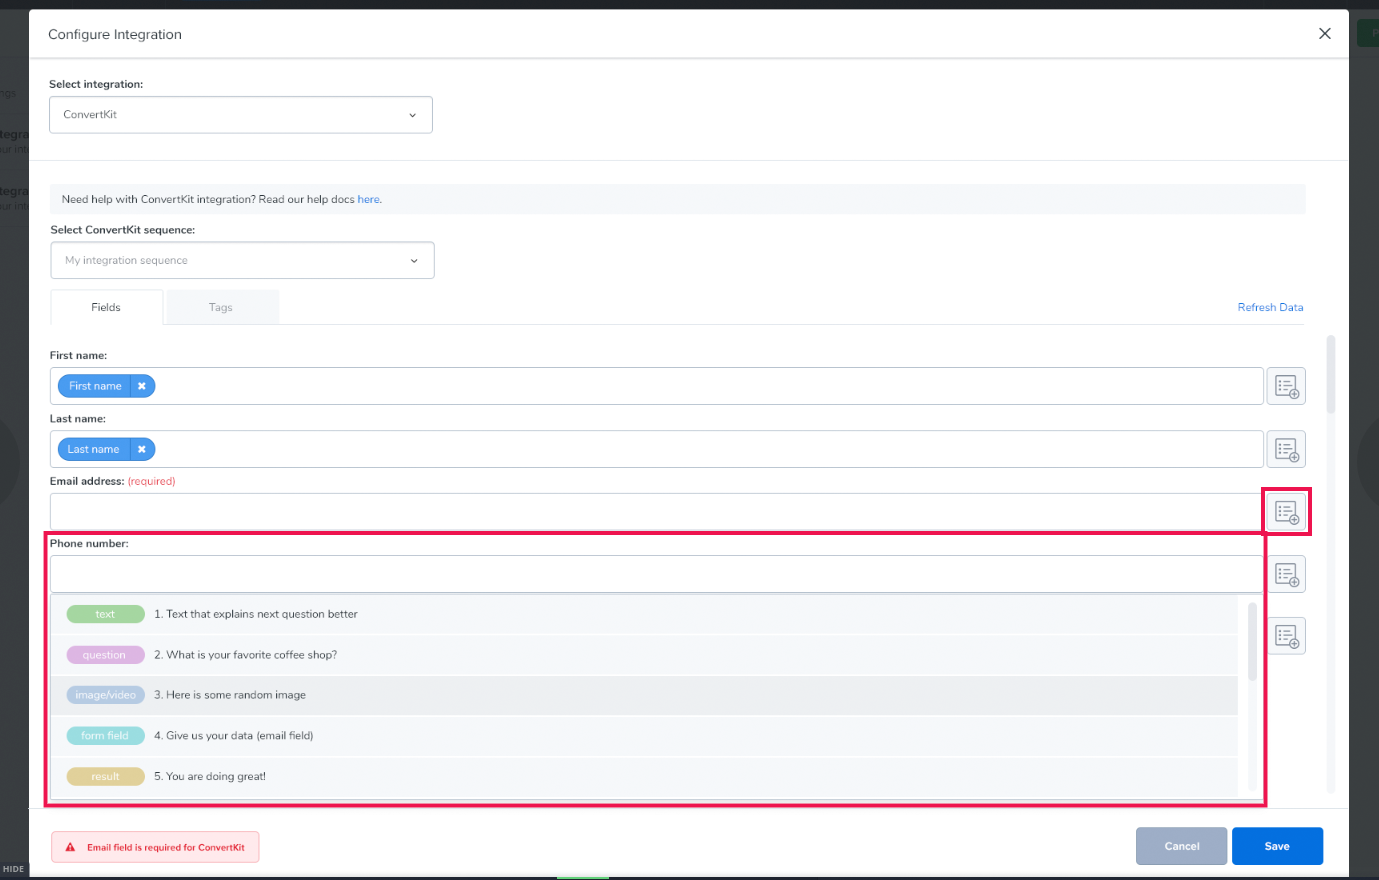
Note: To send data into Drip, your LeadQuizzes content needs to have the email field enabled.
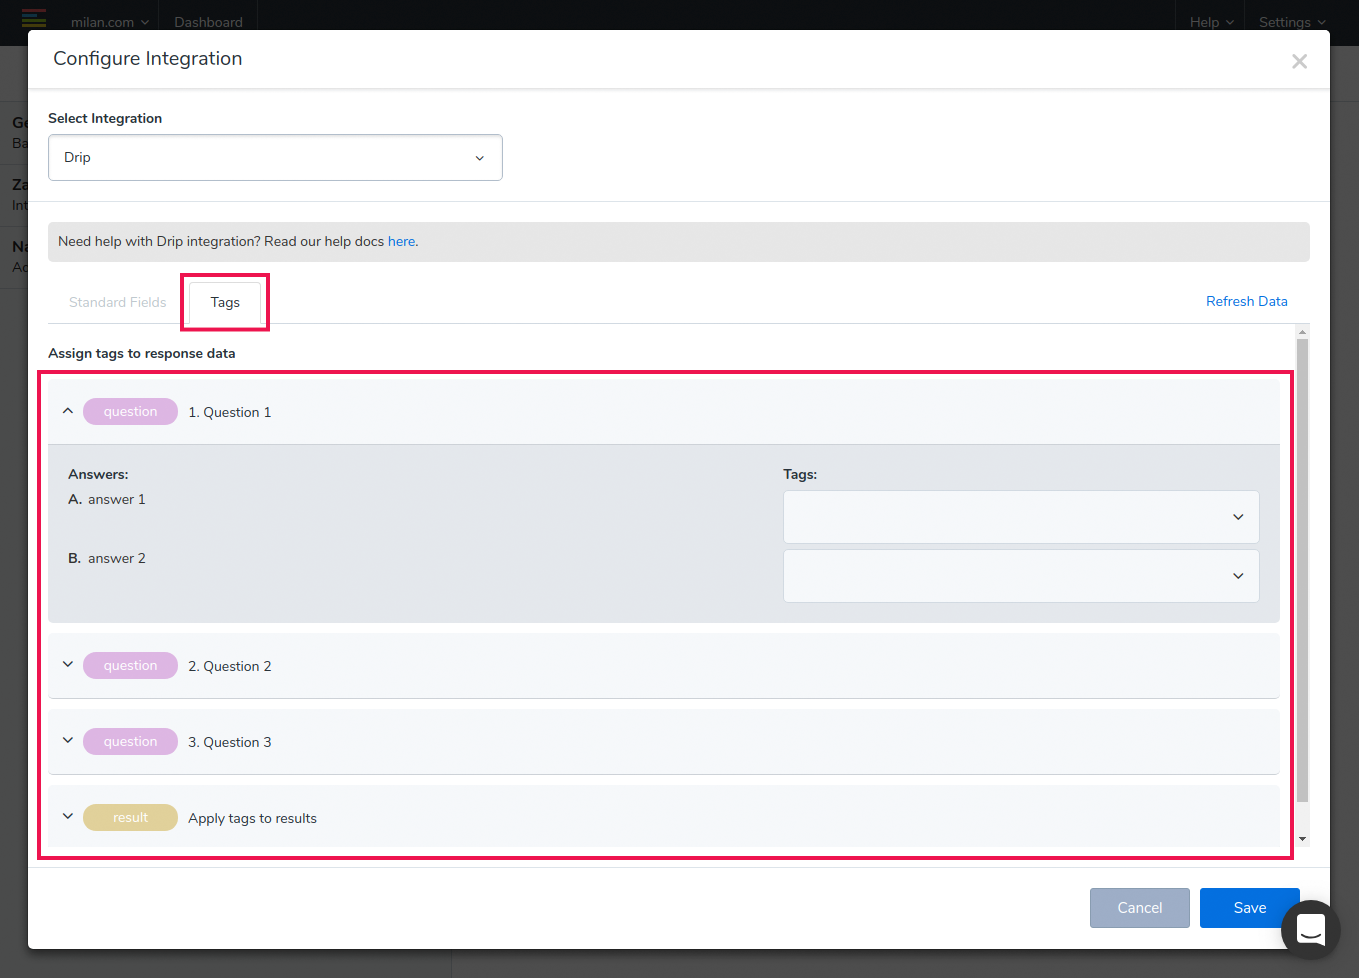
7. To apply tags to question answers and results, click on the ''Tags'' tab. Here you will be able to see the list of all the questions and results your content contains.
Note: The tags can only be added to question answers and results.
8. Next, click on a question or a result to expand it, and the Tags drop-down will appear on the right side.

9. By clicking on the tag drop-down, you will be able to see the tags that are associated with your Drip account. You can apply multiple tags and also search for tags inside the drop-down.

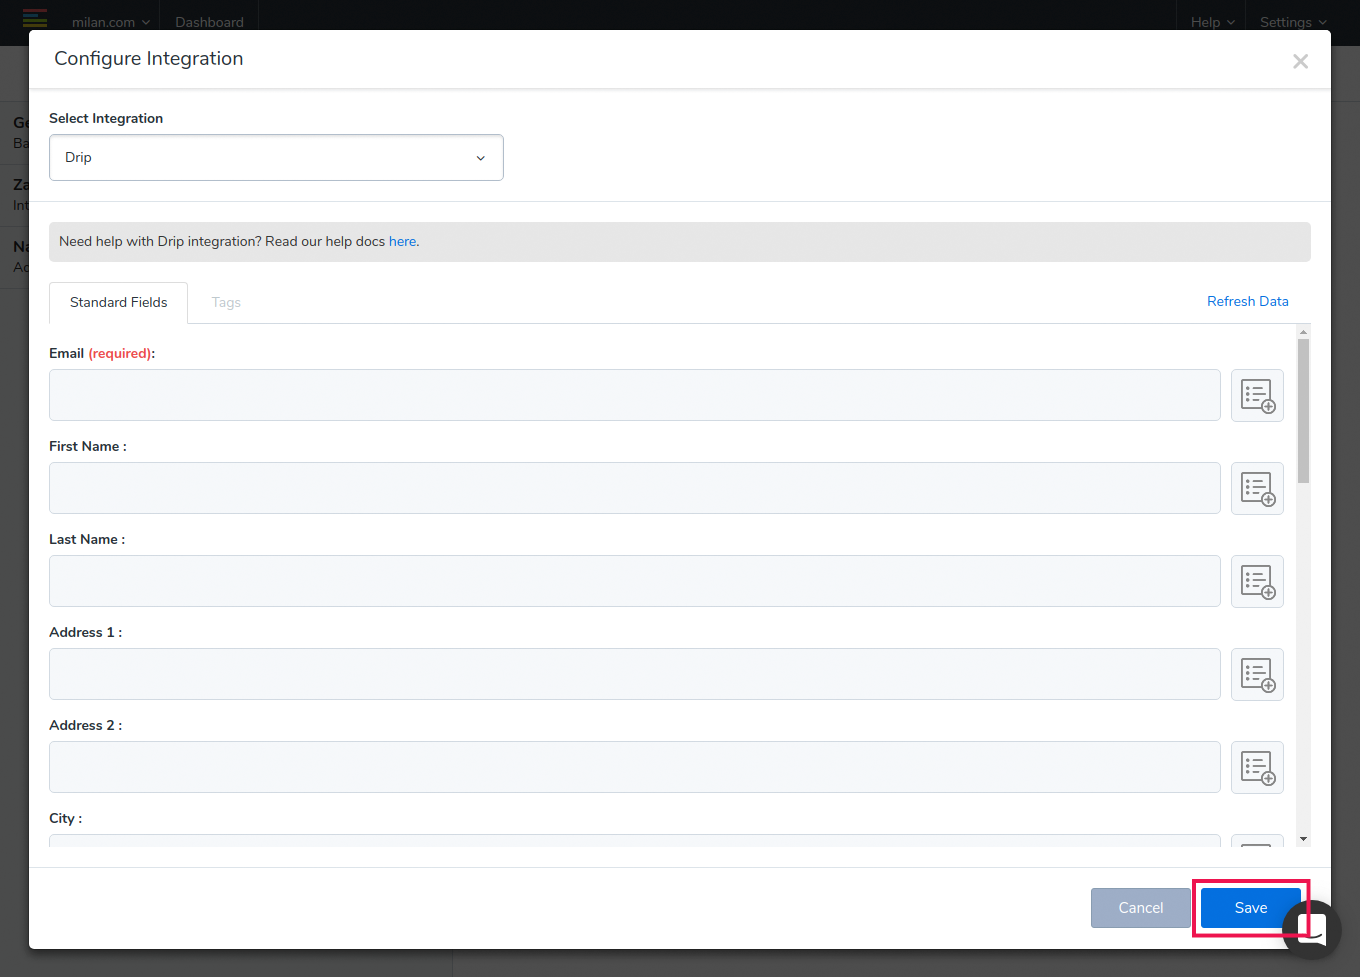
10. Click the "Save" button to complete configuring your Drip Integration.
Note: If you update your fields or tags in Drip while configuring your Integration in LeadQuizzes, you can pull in new data by clicking " Refresh Data" on the right-hand side.

Note: LeadQuizzes will only send the data of contacts/leads who complete your LeadQuizzes content to Drip. This means that if someone abandoned your content halfway through, that information will not be sent to Drip. You can still view the incomplete information by doing adata export or viewingresponse reports.