How To Add Your Calendly Calendar To Your Quiz Results.
This article provides a step-by-step guide on how to add your Calendly calendar to your Quiz Results within LeadQuizzes. By following these instructions, you can seamlessly integrate your Calendly account with your LeadQuizzes account and streamline your scheduling process for potential clients.
Part 1: Connecting LeadQuizzes with Calendly
1. Log in to your LeadQuizzes account dashboard and click "Settings" in the top right-hand corner. From the settings menu, select "Integrations".

2. Find the Calendly integration on the integrations page and click "Setup". A popup will appear. Enter your Calendly Personal Access Token to connect it to your LeadQuizzes account and click "Save".
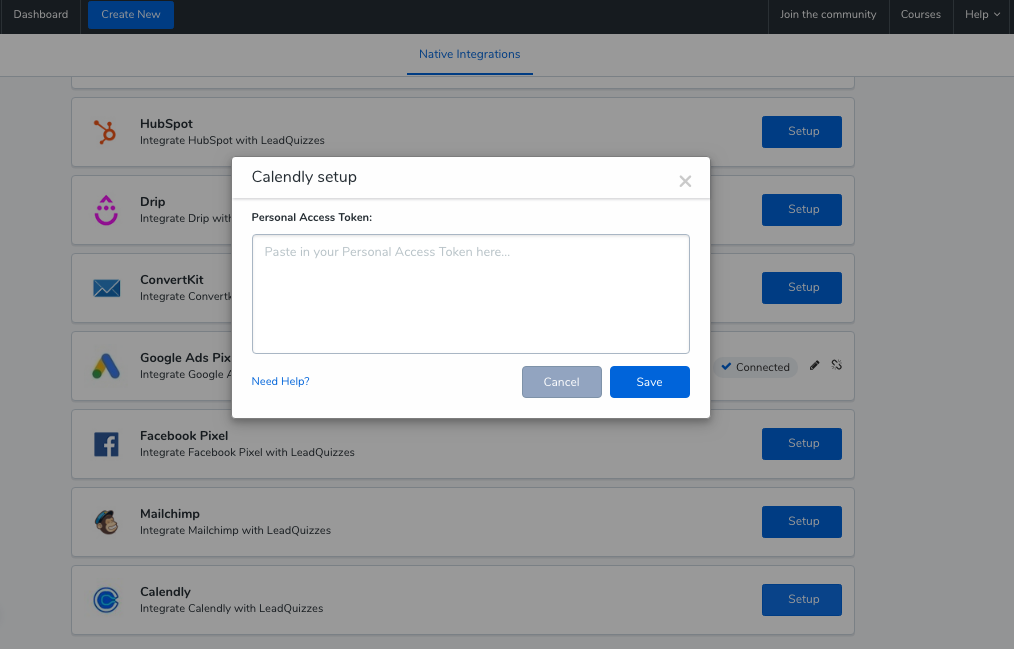
*To find your Calendly Personal Access Token, follow the steps outlined below.
3. Your Calendly Integration should now say "Connected" on your account integration page. You can edit your integration at any time by clicking the pencil icon or disconnect your integration by clicking the disconnect icon.

How to Find Your Calendly Personal Access Token:
1. Log in to your Calendly account.
2. Click on ‘’Integrations’’ from the menu selection on the right-hand side of your dashboard and select ‘’API and Connectors’’.

3. Click on ‘’Get a token now’’ under the Personal access token section.

4. Choose a name for your token and click ‘’Create token’’.

5. Click ‘’Copy token’’ to copy your personal access token.

Part 2: How to Add Your Calendly Calendar to Your Quiz Results
1. To add your Calendly calendar to your Quiz Results, select the content you want to configure Calendly for and click the "Edit" icon on it.

2. In the Content Builder, go to the Results Screen section under the ''Build'' tab. Select ‘’Calendly’’ on the left-hand side and drag it to the Results Screen on the right side.

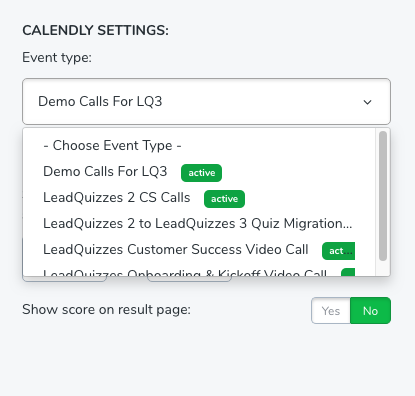
3. In the screen that appears, under the Calendar Settings, select the “Event type”.

Note: The Result Title is required to build a custom result.
5. Next, add your results copy/description under the ''Description'' field.

6. Next, click ''Save'' to save your settings.

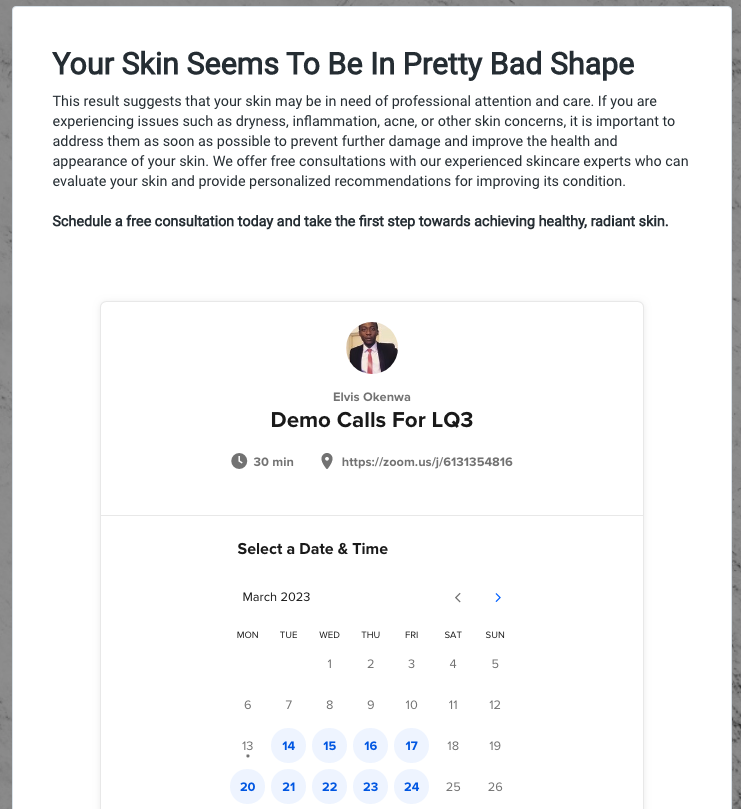
7. Lastly, click Preview to see your result preview with your calendar.